How to Install Home Assistant on a Raspberry Pi
Many people want to control their smart home but feel unsure about where to start. The Raspberry Pi is a low-cost device that works well for setting up Home Assistant, an open-source automation tool.
This guide will walk you through the step-by-step installation of Home Assistant on your Raspberry Pi. Start here and turn your house into a simple DIY project in just a few minutes.
Key Takeaways
- The Raspberry Pi is an affordable device, costing less than £50. It is easy for beginners and works well with Home Assistant.
- Home Assistant is open-source software that allows you to control devices such as lights, thermostats, and cameras from a single location.
- To install Home Assistant, use the Raspberry Pi Imager tool to create a bootable SD card. Select Home Assistant OS from the available options.
- The Raspberry Pi 4 offers improved performance due to its additional RAM, which facilitates managing more smart devices at home.
- After installing, connect your Raspberry Pi to your home network. Access the web interface to set up your account and start automating your house.
Raspberry Pi: The Perfect Platform for Home Assistant
The Raspberry Pi offers a low-cost option for running Home Assistant. Its accessible design makes it ideal for home automation projects.
Raspberry Pi: Low-cost and accessible
The Raspberry Pi offers an affordable way to get started with home automation software. This small computer costs less than £50, making it accessible for beginners and hobbyists alike. It runs on various operating systems and suits many projects, including IoT applications.
Users can create their own smart home systems using Home Assistant without incurring significant costs.
Many people enjoy the flexibility of Raspberry Pi in different setups. Installations are easy with user-friendly tools like the Raspberry Pi Imager. Starting with Home Assistant becomes straightforward as you configure your new system to work with smart devices around your home.
Next, let’s explore how to install Home Assistant on a Raspberry Pi effectively.
Home Assistant: A popular automation tool
After exploring the Raspberry Pi, it’s time to look at Home Assistant. This software acts as a central hub for smart home devices. Many users prefer it because it is open-source and highly customisable.
You can control lights, thermostats, and cameras from a single interface.
Home Assistant supports various products from many brands. It enables you to create automation routines tailored to your specific needs. Its community consistently grows, offering countless add-ons and integrations.
These features make it easier to manage Internet of Things (IoT) devices in your smart home setup. The Installation Guide helps newcomers get started quickly with Home Assistant on their Raspberry Pi.
How to Install Home Assistant on a Raspberry Pi
To install Home Assistant on a Raspberry Pi, start by downloading the Raspberry Pi Imager from the official website. Next, select the appropriate hardware and software to ensure a smooth installation.
Download and install the Raspberry Pi Imager
Download the Raspberry Pi Imager from the official website. This tool simplifies the process of creating a bootable SD card for your Raspberry Pi. Install it on your computer by following the on-screen prompts during the installation process.
Open the Imager and choose the Operating System you want to install. Select Home Assistant from the list of options, as it serves as an essential automation tool for your IoT devices.
Insert an SD card into your computer and select it in the Imager, then click “Write” to begin downloading and installing Home Assistant onto your Raspberry Pi.
Select the appropriate hardware and software
Choose the right Raspberry Pi model for your Home Assistant setup. The Raspberry Pi 4 is an excellent choice due to its better performance. It comes with more RAM options, which helps manage multiple smart devices easily.
Next, select the appropriate operating system software. Use Home Assistant OS for a streamlined experience. This open-source platform supports a wide range of IoT devices and provides detailed configuration options.
Download it from the official website and follow the installation instructions carefully to enjoy seamless automation at home.
Set up the Home Assistant web interface
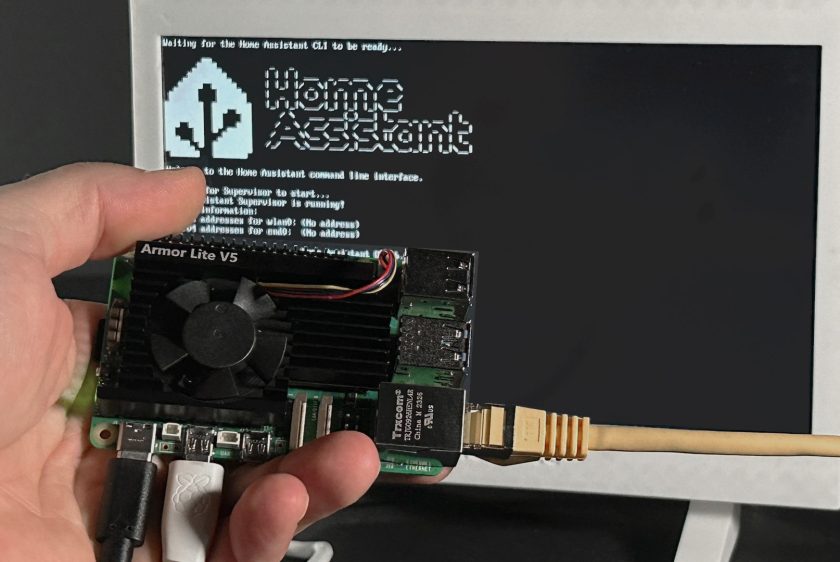
Start by connecting your Raspberry Pi to the network. Use an Ethernet cable or connect via Wi-Fi. Open a web browser on your computer and enter the IP address of your Raspberry Pi.
The Home Assistant web interface will load.
Follow the on-screen setup prompts. Create an account and set your location details. After that, you can customise preferences for your smart home devices. This interface offers easy access to control various IoT components in your home.
Enjoy using Home Assistant as it simplifies managing automation tools while enhancing your smart living experience.


